Wireless Mouse Not Working? Complete Testing & Troubleshooting Guide
Post date:- 26 February 2026
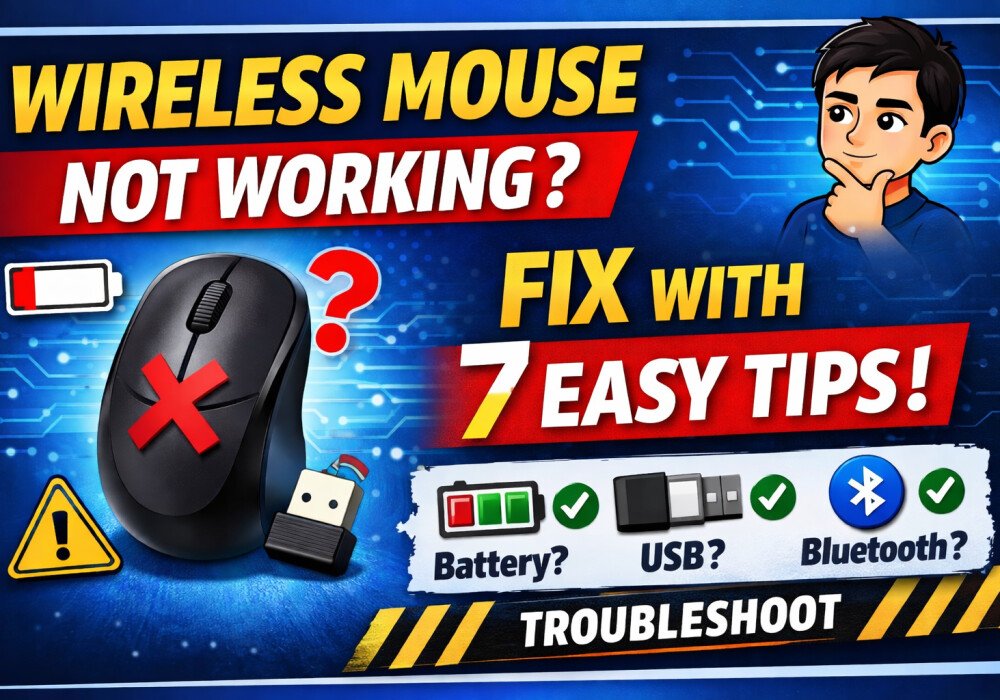
Is your wireless mouse suddenly not working? The cursor isn't moving, clicks aren't responding, or the laptop isn't detecting the mouse at all? Don't worry — I'll teach you a step-by-step testing method that will help you easily identify and fix the problem.
Step 1: Check Basic Power Issues
Check the simple things first:
1. Is the mouse on or off?
- The power switch is located at the bottom of the mouse.
- Ensure the switch is in the ON position.
2. Check the battery
- Remove the old batteries and install new batteries.
- If it is a rechargeable mouse, charge it fully.
- Also check whether the battery is properly inserted or not.
Step 2: Test the USB receiver (dongle)
If your mouse is connected to a USB receiver:
- Try changing the USB port.
- Remove and reinsert the receiver.
- If possible, test on another laptop/pack.
If it doesn't work on other systems – the dongle or mouse may be faulty.
Step 3: Bluetooth Mouse Test
If you're using a Bluetooth mouse:
- Turn on Bluetooth.
- Put the mouse into paring mode.
- Check if the mouse is visible in the device list.
- “Forget device” and pair again.
Path in Windows: Settings → Bluetooth & Devices → Remove Device → Add Device
Step 4: Check Device Manager (Windows Users)
- Press Windows + X
- Select Device Manager
- Open “Mice and other pointing devices”
- If there is a yellow warning sign, there could be a driver issue.
Fix:
- Right click → Update Driver
- Or uninstall and restart
Step 5: Perform a Surface Test
Sometimes the problem is not with the mouse, but with the Surface.
- Mouse does not work properly on glass surfaces
- Use a mouse pad
- Clean the dust under the sensor
Step 6: Restart System
A simple restart often resolves hidden driver issues.
- Restart the system
- Reconnect the mouse
Common Reasons Why Wireless Mouse Stops Working
- Dead battery
- USB port issue
- Driver problem
- Bluetooth pairing error
- Physical damage
- Interference (near WiFi Reuters)